
Week 19
Project Development
Assignment
Complete your final project, tracking your progress
I started working towards my final project in the Input week when I made the hall sensor board. In the output week I made the array board instead of the RGB board which I made in the Networking week. All the details and files are on those pages. I started documenting my final project in week 15 "Application and Implication" so I will continue on this page.
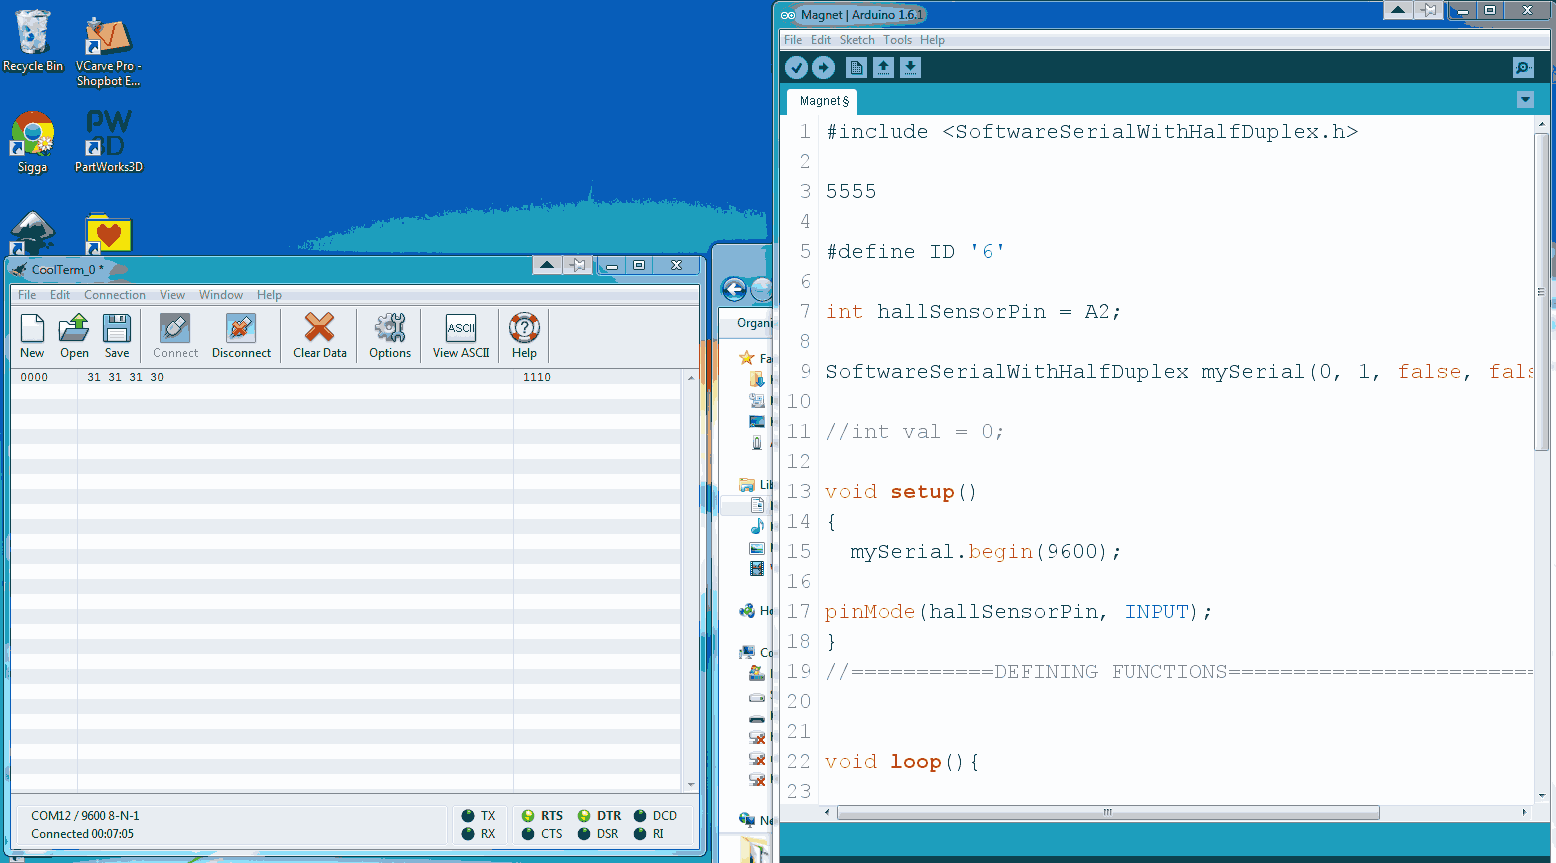
My next step is to connect my magnet board and to make a code that works with my game. I made an Arduino code that works so that I give each board a name and then it answers me with 0 or 1 depending on if it close to a magnet. I downloaded Coolterm in order to see if the board was reading and sendig a value back. Here is my Arduino code.
I had some problems but Bas my instructor was able to help me out and we got it working in the end. I had to borrow Sigga´s connecton board since she had made one with 6 pin connector but mine is a 4 pin connector.
My next step was to make to more rgb led boards and program them so they would work with the game. The plan for the final presentation is to have the game working for four lights with four magnet boards.
I already have two magnet boards that are working fine so I make two more magnet boards. I had designed new boards with a four pin connector but then last minute I decided to mill the old design just to be on the safe side. I will eventually design new boards that will have both the led and the magnet on it so I can have only one board at the end of each hole instead of two like it´s now setup. I check my input boards by going through the same process as we did in week 10 the input design. I connect the input board and then I connect it to the controlling board. I open the command window for the firmware from the week ten and type in - make -f hello.mag.45.make program-usbtiny. When that goes through I hit the tab button untill I get hello.mag.45.py then it asks for a serial port and I hit the top arrow and get hello.mag.45.py so I type com12 and then I get the window that shows how the hall sensor reads magnet. I used this opportunity to try different size magnets in order to find out how close the magnet needs to be to the sensor. This is good to know before I design the pieces that will go into the hole.
I found out that it would be better for me to use the bigger magnets for my final project and I also changed the Arduino code so:
if ((hallSensorValue > 500) && (hallSensorValue <512)){
mySerial.write('0');
}
so it would be more sensitive and read for certain when the magnet is in the hole.
Now I have four RGB boards that I have programmed and tested and four hall sensor boards that I programmed and tested. The RGB boards have the value of 1-4 but the input boards have the value 5-8. The RGB board number 1 works with input board number 5 and so forth. I check to see if the RGB boards work with the game:
Now that I have the RGB lights working with the game I start working on the physical look of my game. I was working with fabmodules in the composites week were I used a black and white png of water. I really liked the way it came out and I want to try to make it much bigger. I buy a plate of styrofoam that I want to do a test in. I take an image of waves into photoshop and work on it - make it into black and white and adjust the size - it has to be the same size as the piece that I want to mill out. I did a test 600mm x 900mm on a 100mm thick styrofoam. I used a 1/2 inch ball nose and I had the vaccuum cleaner and the duster on the whole time. I love how it came out.
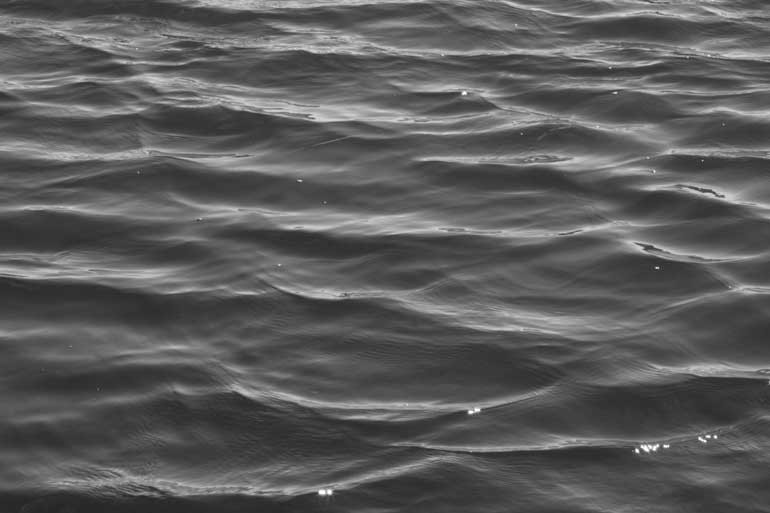

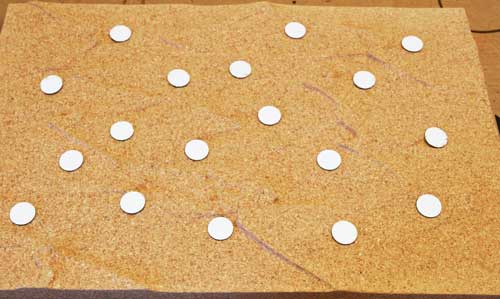
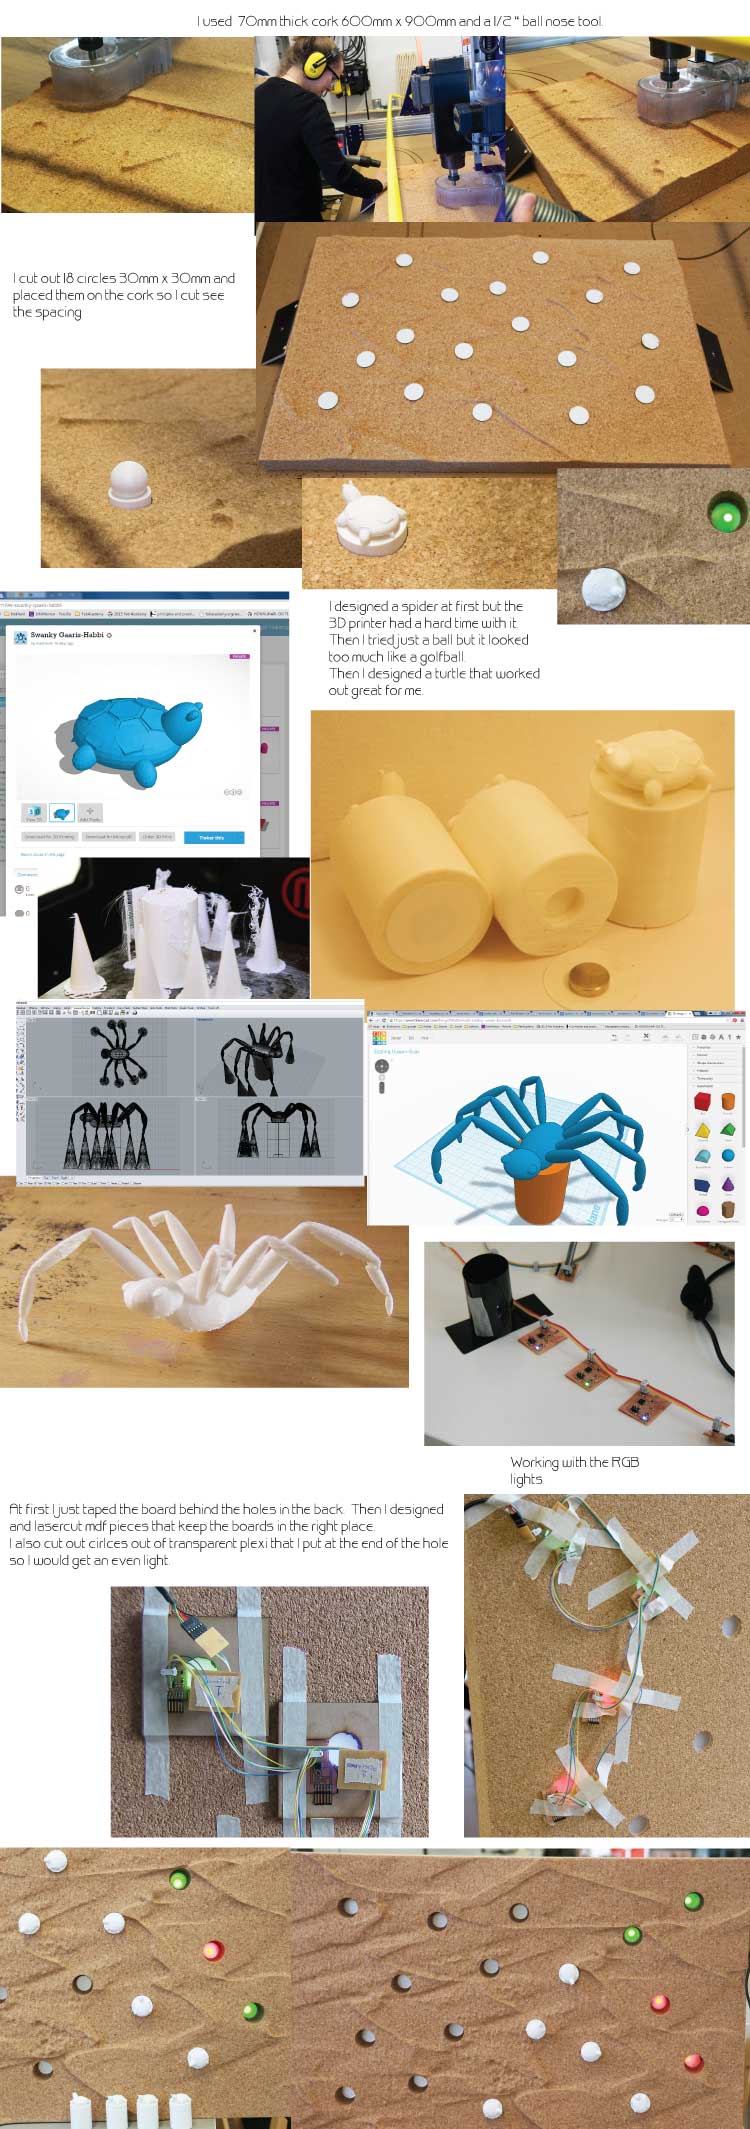
In fact I loved it a bit too much. I couldn´t even think about putting holes in it so I realized that this is something that I wanted to make even bigger since I feel this is so beautiful on it´s own. I had been trying to mix this game for kids with what I want to be doing in my art . I decided to try something different for the game. I found a photo of sand dunes and I bought a piece of cork, 70mm thick and 900mm x 600mm which is the biggest I could buy here in Iceland.

I designed both the turtle and the spider first in Tinkercad but then I moved it over to Rhino were I designed the rest of it.
Project Development in short
I have four RGB boards designed in Eagle with an extra connenctor so I can connect them all together. Eagle file. I made a connection board in Eagle that I use to connect from the computer to the RGB boards and the Hall Sensor boards - all the boards get their power from the computer. Connection Eagle file. Here is the Hall Sensor Eagle file. The RGB boards are programmed with this Arduino file.
more details and photos can be found here.
I have four Hall Sensor boards programmed with this Arduino file.
more details and photos can be found here.
I milled out a piece of cork 600mm x 900mm x 70mm in the shopbot using Fabmodules. It has 18 holes in it that will all have a RGB board in the bac k(now only 4).
more details above.
I designed and 3D printed small turtles that hold a magnet so the input board can read if a piece has been removed from the hole.
more details above
I put transparent plexi in the holes to even out the light.
I cut circles out in the vinylcutter in order to hold the magnets in the hole.
I didn´t safe the file for the mdf plates holding the circuit boards since I will redesign them once I have the redesigned the boards themselves.
I found a memory game on the internet that has a javascript code that I took and adjusted to work with my game. My javascript file.
I downloaded Node.js in order to connect to the websocket. Here is the code for the bridge.
Here is the file for the websocket.
Here is the file for the index.
Here is the css file for the game.
more details here.
What is working
I have the game working with four lights in connection with the website. The game starts only when I press the start button on the website. I have the physical design of the game finished.
What needs to be done
I want to design a new board that has both the RGB and Hall Sensor on it so I will have only have one board behind every hole.
I need to figure out an Arduino code for that board.
I need to work on the javascript code.
I would want to adjust the code to work with the new board.
I would like the game to start when the first piece is removed.
The dream would be to have a Raspberry pie controlling the game.